

Digital Campus / Azure Active Directory SAML Integration
Use the SAML Service Provider Metadata XML file provided by Swank to import our configuration into your SAML Provider. You can download the file here.
Step 1 – Configure Azure AD Enterprise Application
- Sign into the Azure Portal
- Navigate to Azure Active Directory / Enterprise Applications
- Select New Application
- If you do not see "Non-gallery application" and do see this prompt:

Click the prompt to switch back to the old gallery experience.
- If you do not see "Non-gallery application" and do see this prompt:
- Select Non-gallery application
- Enter your application name ( “digitalcampus.swankmp.net” ) and Click Add.
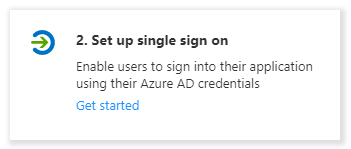
- On Properties, Select “Set up Single sign on”
- Select SAML
- Select Upload metadata file
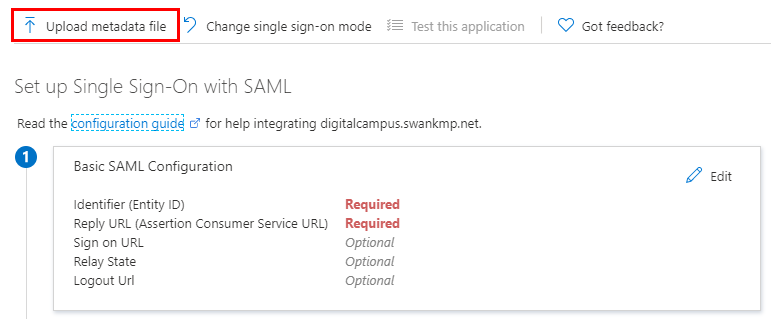
- Use the Digital Campus ServiceProviderMetadata.xml file which can be downloaded from here then click Add. This imports the following:
- Identifier (Entity ID)
- Reply URL (Assertion Consumer Service URL)
- Logout Url
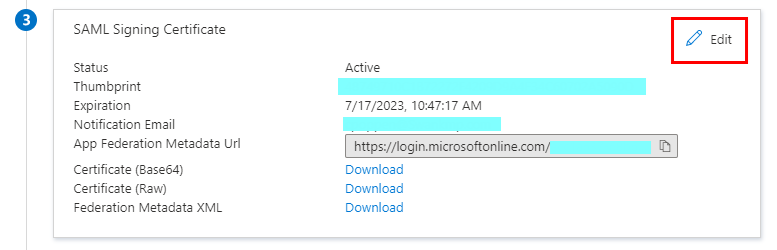
- SAML Signing Certificates
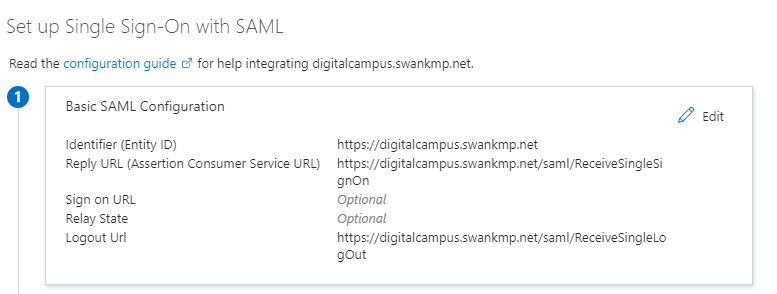
- Confirm Basic Settings
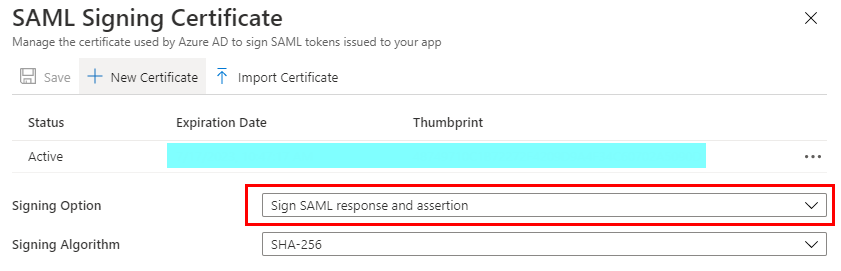
- Edit SAML Signing Certificate and change Signing Option to “Sign SAML response and assertion”.
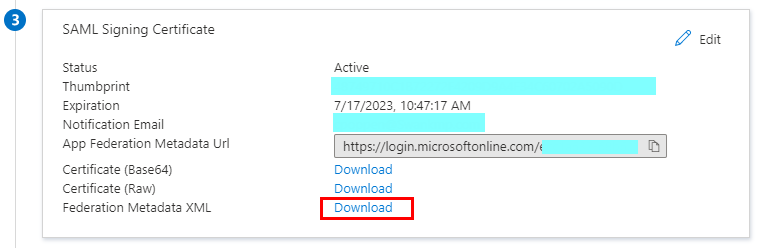
- Download Federation Metadata XML File. This file will be used in the SAML setup of Digital Campus Portal
- Click Save.
- Select Users and Groups add Test Users or Groups
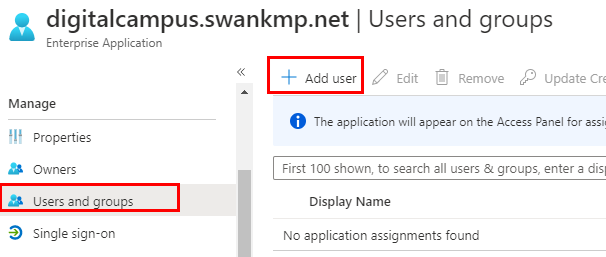
Select appropriate users and click Assign. These will be authorized users for the application.
*For additional information on mapping Group Membership information to SAML, please use the following supplemental guide:
Mapping Group Membership Information to SAML - Azure AD
Step 2 – Configure Digital Campus SAML Authentication
- Refer to the following article to continue setup in the Swank Cloud Streaming Admin:
Configuring Swank Cloud Streaming SAML Authentication
Comments
0 comments
Article is closed for comments.