
Table of Contents
- Summary
- Create a Custom Category
- Assign Titles to a Category
- Specify Category Order
- Edit Category Name
- Manage Translations
- Delete a Category
Summary
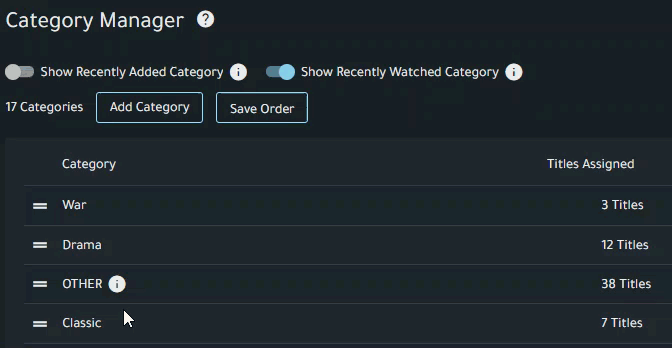
Category Manager allows Administrators to create custom categories or groupings of films. Categories created by Administrators are only visible to individuals with the user role, not Administrators or Instructors. However, they can preview newly created categories by clicking on Preview Site on the left-hand menu.
Note: If you are using the Swank Streaming Server for fewer than ten titles, you do not need to use the Category Manager.
All of the titles added to the streaming server default to a single category. Admin may, however, create custom categories their audience will relate to in order to make browsing easy!
Create a Custom Category
- Login using an account with the Admin role and navigate to Category Manager from the left-hand menu.
- Click Add Category, enter a category name, and click Save
2. After saving, consider the following:
- Assign titles to your new category or the category will not appear in the Content Catalog
- Specify the category order to present the categories to your audience in the Content Catalog
Assign Titles to a Category
There are two ways to change a title's categories. The steps for using both Category Manager and Content Manager are listed below.
Method 1 - Category Manager
From Category Manager you can add multiple titles to a category.
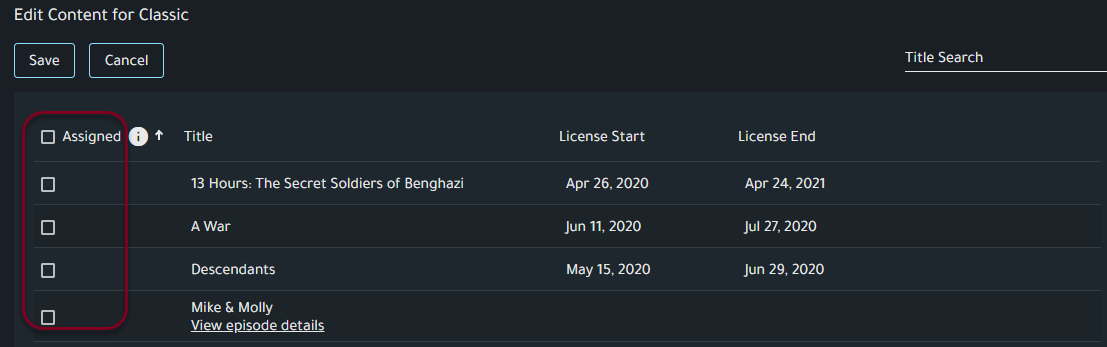
- Locate the category either by using search or scrolling through the list in the Category Manager and click the overflow menu and select Add Titles
-
Click the Assigned box next to any title(s) or television episodes to include them in the category
Method 2 - Content Manager
From Content Manager you can add multiple categories to a single title.
- Navigate to Content Manager
- Click on "Categories (#)" underneath the title you would like to modify categories for.
- Check/Uncheck the desired categories and click Save. Note: You cannot modify the default categories, only custom categories can be added or removed.
Helpful Tips
- Titles must be assigned to at least one category
- Titles may have multiple categories
- If all content is assigned to a single category, then no category will be displayed
Specify Category Order
- Categories appear in the catalog based on the order listed in the Category Manager
-
Click and drag the double lines of the category to where you want it to appear in the Content Catalog, and click Save Order
-
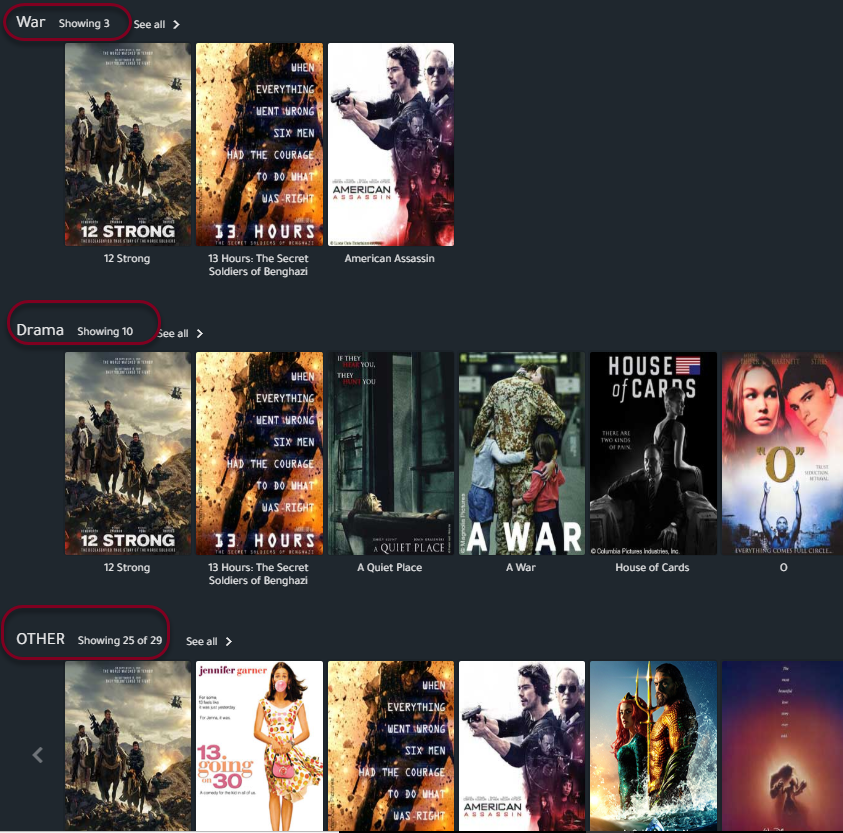
In this example, Classic category will appear as the first category in the Content catalog before any automatic categories.
Edit Category Name
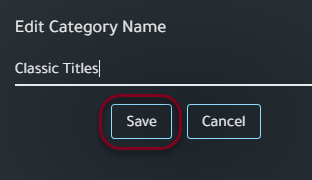
- Locate the category either by using search or scrolling through the list in the Category Manager select the overflow menu and click Edit Name. (Note: Categories automatically created by Swank cannot be edited)
- Modify the name and click Save
-
Manage Translations
You have the option to include translations for the name of your Category in various languages. This feature enhances accessibility and usability for a diverse audience, making your content more inclusive and user-friendly. If the user's browser has a different default language this will ensure it will be automatically translated.
- Locate the category either by using search or scrolling through the list in the Category Manager, select the overflow menu, and click Manage Translations
- Select Add Translation, choose the locale/language of your choice, enter the translated Category and click save.
-
Edit Translation - Locate the translation either by using search or scrolling through the list in the Translation Manager, select the Edit button, modify the translation, and click Save.
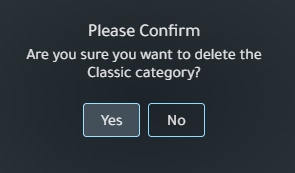
Delete a Category
- Locate the category either by using search or scrolling through the list in the Category Manager, select the overflow menu, and click Delete
- Confirm your decision
Comments
0 comments
Please sign in to leave a comment.